The Ultimate Guide To Landscape Light Installation
The Ultimate Guide To Landscape Light Installation
Blog Article
8 Simple Techniques For Landscape Light Installation
Table of ContentsLandscape Light Installation - QuestionsThe Definitive Guide for Landscape Light InstallationThe Buzz on Landscape Light InstallationTop Guidelines Of Landscape Light InstallationLittle Known Facts About Landscape Light Installation.Landscape Light Installation Can Be Fun For Anyone
So with no significant electric experience I went on the quest for very easy to install low voltage landscape lights. That indicated no electrical wiring or minor building. Roger had his uncertainties however silently (well, nearly silently) he enjoyed from the sidelines. Reduced voltage landscape lights are powered with a transformer, that connects to the cable, that decreases the voltage from regular 120 volts to 12 volts.I constantly assumed I 'd need to dig ditches and run all kinds of cables but the low voltage outdoor limelights that I found were so very easy to set up. Thirty minutes was all it required to provide our cottage an enchanting radiance in the evening. I purchased 2 of these light sets for the front of our residence.
I most likely might have gotten by with fewer lights yet the 4 light set was the tiniest one available. When I started searching for outdoor limelights my initial concern was to find something that was very easy for me to set up and hookup. After I tightened down my choices I searched for lights that had fantastic reviews.
The idea was to place three on either side of the front patio. I figured that that would suffice. As soon as I obtained them and laid the lights out I understood the 3 and 3 configuration would not work. Despite the fact that I obtained a great deal of cable with the collection, I would have had to dig under the sidewalk in order to hide the cord.
The Facts About Landscape Light Installation Revealed
 Bear in mind, I desired this to be very easy with no excavating and no rewiring. While I identified a fix I just installed all 6 by the guest room to see exactly how they would certainly look. A quick word of caution. Although we are only plugging in lights it is essential to be safe and utilize caution when collaborating with electrical energy.
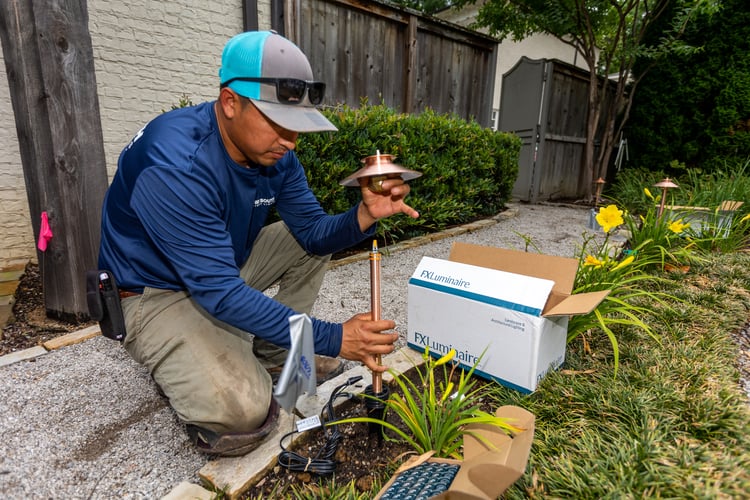
When the wires were hidden I plugged the limelights into my exterior expansion cable, that is connected in to an electrical outlet on the residence. To make things even much easier I likewise utilized a timer. Currently the landscape lights switch on and off instantly at established times each evening. Once the sunlight set and my lights activated I went outside and adjusted them to hit the front of the home.
Like I stated, the tiniest set I could get was 4 lights so that's what I got. Once they arrived I mounted them adhering to the very same actions as the very first collection of lights.
Landscape Light Installation - Truths
He wouldn't admit that I was best butI was (Landscape Light Installation).
# 10 gauge outside cable # 12 gauge outside wire 1-1/2 in. x 12-in. PVC pipeline 1-1/2-in. PVC cap with -in. female string -in. copper pipe For each pop over here ground light: 1-1/2-in. PVC coupler with -in. tee for cord opening Lighting One box of weatherproof cable connectors Transformer Two -in. sweat-to string copper adapters Expansion ladder Yard rake Degree Posthole miner Security glasses Voltage tester Cord stripper/cutter Wrench setvolt me Volt meter A garden spade Aluminum tent stakes.
Set up lights where they will not be conveniently harmed by rakes or shovels. Remember, as well, that the plants you light up will experience seasonal changes. Not all plants have to be evergreens, some plants such as hydrangea, dogwoods and sumac are intriguing brightened also when leafless. Once you have your materials, your tools and your strategy, it's time to call 811.
It's a free solution and you'll stay clear of unsafe and expensive surprises. Use 10-gauge cable for the primary lines from the transformer to where the lights begin, after that switch to 12-gauge wire between the lights. To hide the cables where they cross the lawn, make use of a flat-nosed shovel to cut a slot and fold back the sod.
7 Easy Facts About Landscape Light Installation Explained
Using the PVC pipeline, construct and bury a footer that will house the cable links and sustain your pole extensions (advised to be made of 1/2- inch copper pipe). Attach the cords with weatherproof cable adapters. These cord connectors have a guard under and a blob of sealant inside that make them weatherproof.
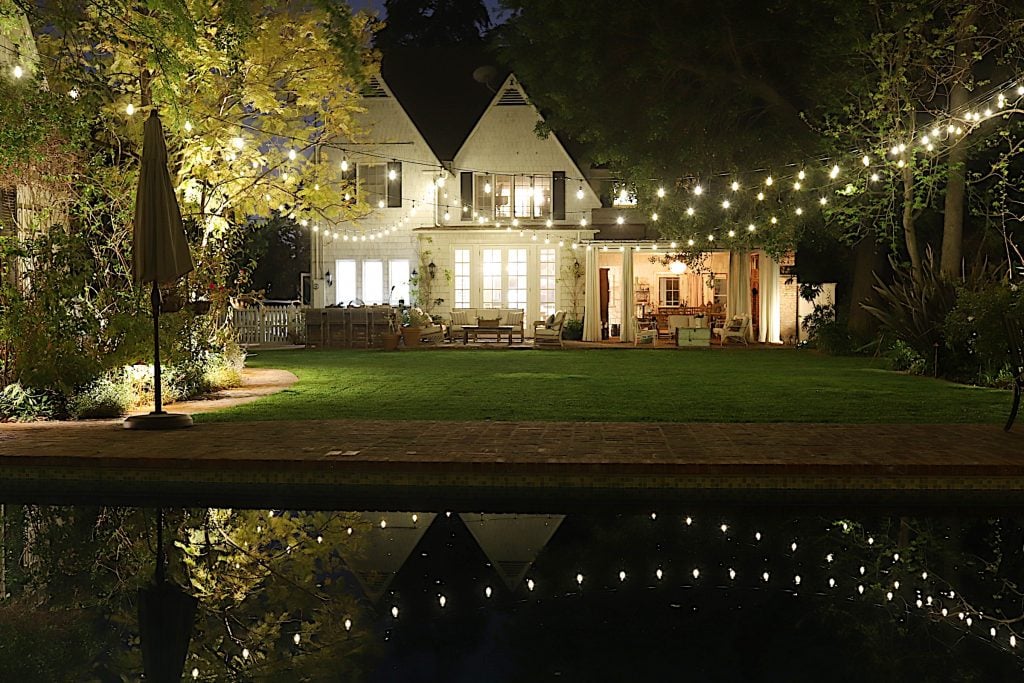
Having a strong plan pertaining to landscape illumination is more vital than you might picture. Properly lighting up areas in your yard and your next home during the evening not just offers a superb view of your home however can likewise hinder potential vandals or robbers. If you're unsure where to begin with landscape design lights, you remain in the ideal place! Below is our useful exterior lights guide, where we will go through where to place landscape illumination, what sorts of lights to make use of, and just how to make use of light for the very best result.
How Landscape Light Installation can Save You Time, Stress, and Money.
It's a complimentary service and you'll stay clear of hazardous and expensive surprises. Use 10-gauge cable for the primary lines from the transformer to where the lights start, after that switch over to 12-gauge wire between the lights. To bury the wires where they go across the grass, use a flat-nosed shovel to cut a port and layer back the sod.
Considering that the transformer will constantly be plugged in, you need to replace the basic outlet cover with an in-use weatherproof cover, offered at most major home renovation centers and equipment shops. The ground risks that include the majority of vertical lights components are not solid enough (or go deep sufficient) to keep them wonderful and straight in time with altering dirt conditions, erosion, and so on.
Utilizing the PVC pipe, construct and bury a footer that Web Site will certainly house the cable links and support your post expansions (suggested to be made from 1/2- inch copper pipeline). Link the cables with weatherproof cord ports. These cord ports have a guard on the bottom and a ball of sealant inside that make them weatherproof.
Little Known Facts About Landscape Light Installation.
Having a solid strategy regarding landscape lighting is more crucial than you might imagine. Appropriately lighting up areas in your yard and your home during the evening not only provides a great sight of your house however can likewise deter possible vandals or burglars. If you're unsure where to start with landscaping lights, you remain in the best area! Right here is our convenient exterior lighting overview, where we will certainly walk through where to place landscape lights, what types of lights to make use of, and how to make use of light for the finest effect.
Report this page